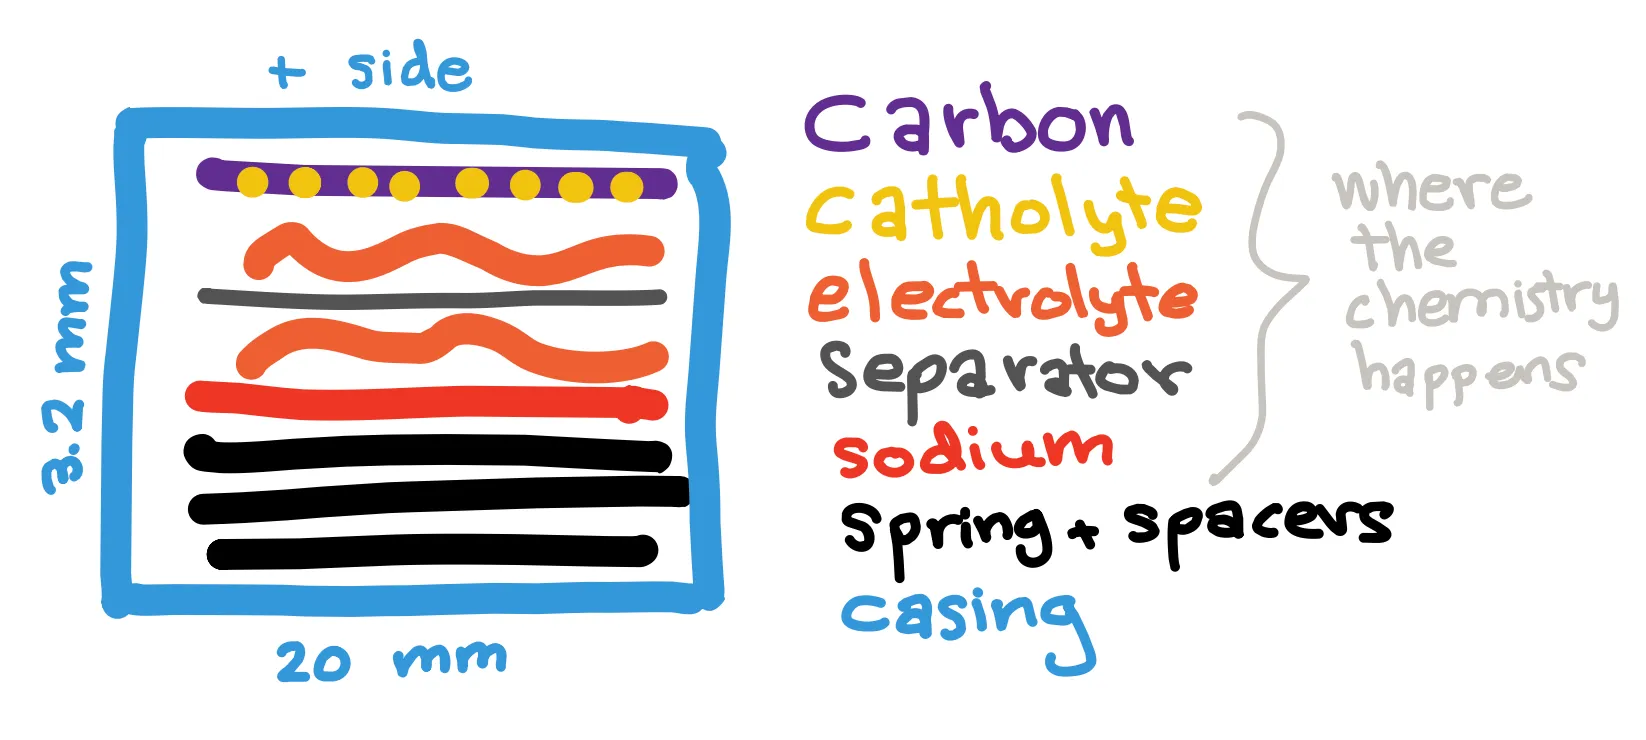
Coin cells are small cylindrical batteries commonly used in watches, key fobs, and other small consumer goods. Due to their low cost and ease of manufacturing, coin cells are the most commonly used batteries in academic research. In my lab, I make 2032 coin cells, which are coin cells with a diameter of 20 mm and height of 3.2 mm.
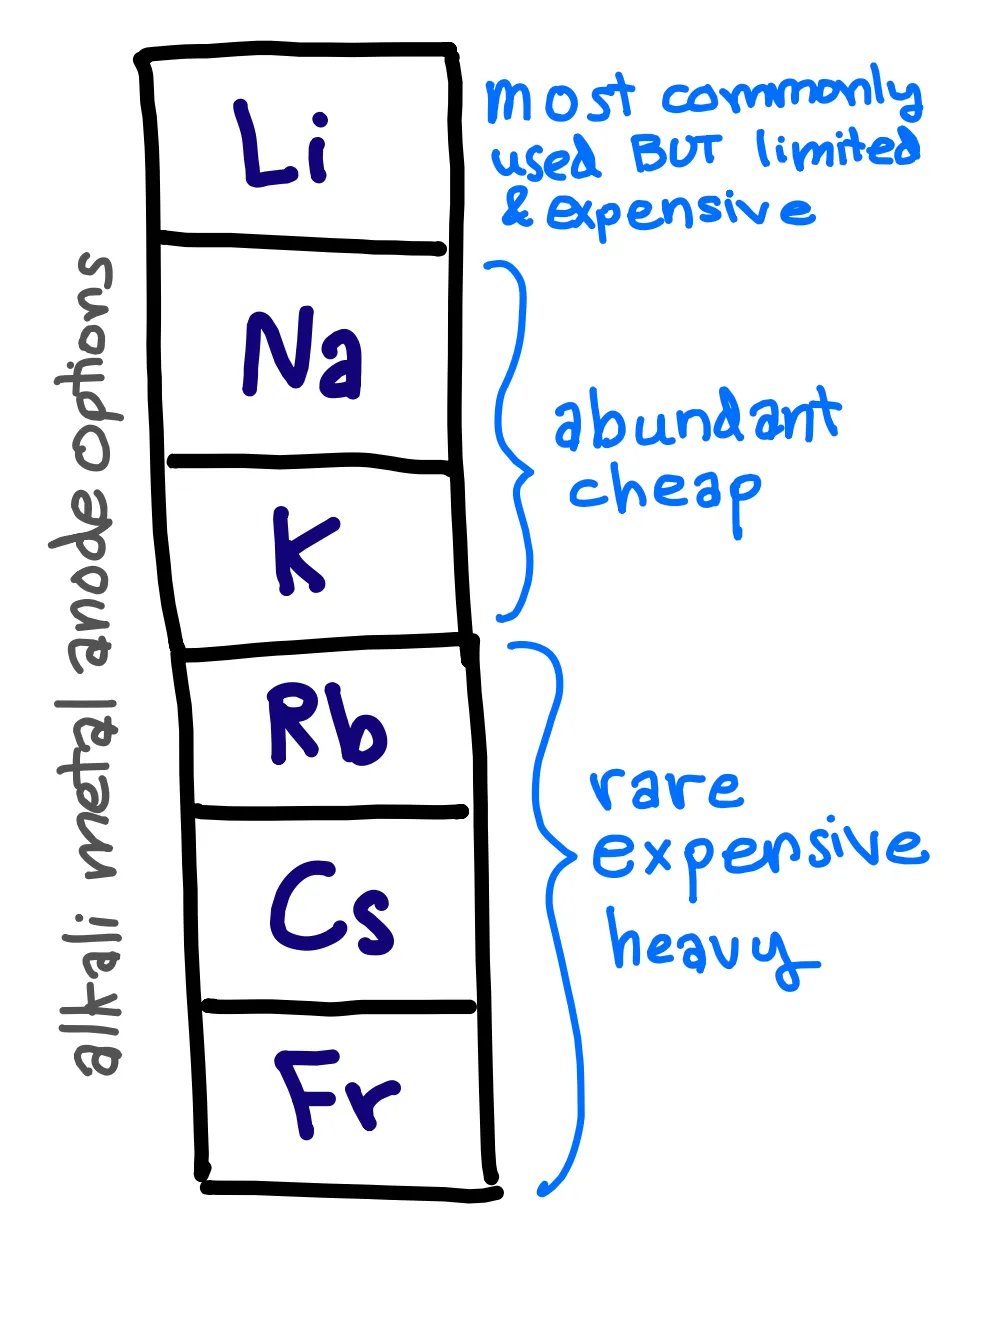
I primarily make sodium-based cells, in which sodium ions shuttle between the cathode and the anode during charging and discharging. Most commercial batteries are Li-ion batteries, in which lithium ions shuttle between and intercalate into a cathode and a graphite anode. Although Li-ion batteries are reliable, they also have limited capacity and use expensive, rare materials. Therefore, it is important that we continue to explore alternative battery chemistries beyond what is already commercially available. In my lab, we are focused on batteries using alkali metals other than Li. This is a natural extension from lithium because alkali metals (group one of the periodic table) share similar characteristics with each other, including their willingness to lose an electron (). Sodium is especially attractive because of its abundance and low cost. One type of cell that I make is a sodium-sulfur battery, where sodium is the anode and a carbon disc with a sulfur solution (catholyte) serves as the cathode.

You can think of making a coin cell as making a pot pie (not that I know how to make that) with a few core, layered ingredients. The crust is the coin cell casing, which is stainless steel and bought online. Its purpose is to contain all the ingredients, as well as to conduct electricity. Inside the casing are the anode, the electrolyte with separator, and the cathode. Chemical reactions occur at the anode and cathode surfaces, and the electrodes (anode and cathode) must be able to store sodium ions in some form. The electrolyte is a solvent with salt that allows for sodium ions to shuttle between the cathode and anode. A separator is used to prevent direct contact between the electrodes, which would cause a short circuit. To fill the 3.2 mm thickness of the casing, spacers are added as needed, and a spring is used to apply and maintain pressure between the cell components. The spacers, spring, and casing are steel because steel conducts electricity well (so can transfer electrons to and from the electrodes), is inexpensive, and generally doesn’t react with the inner components. The chemistry happens on and between the electrodes.

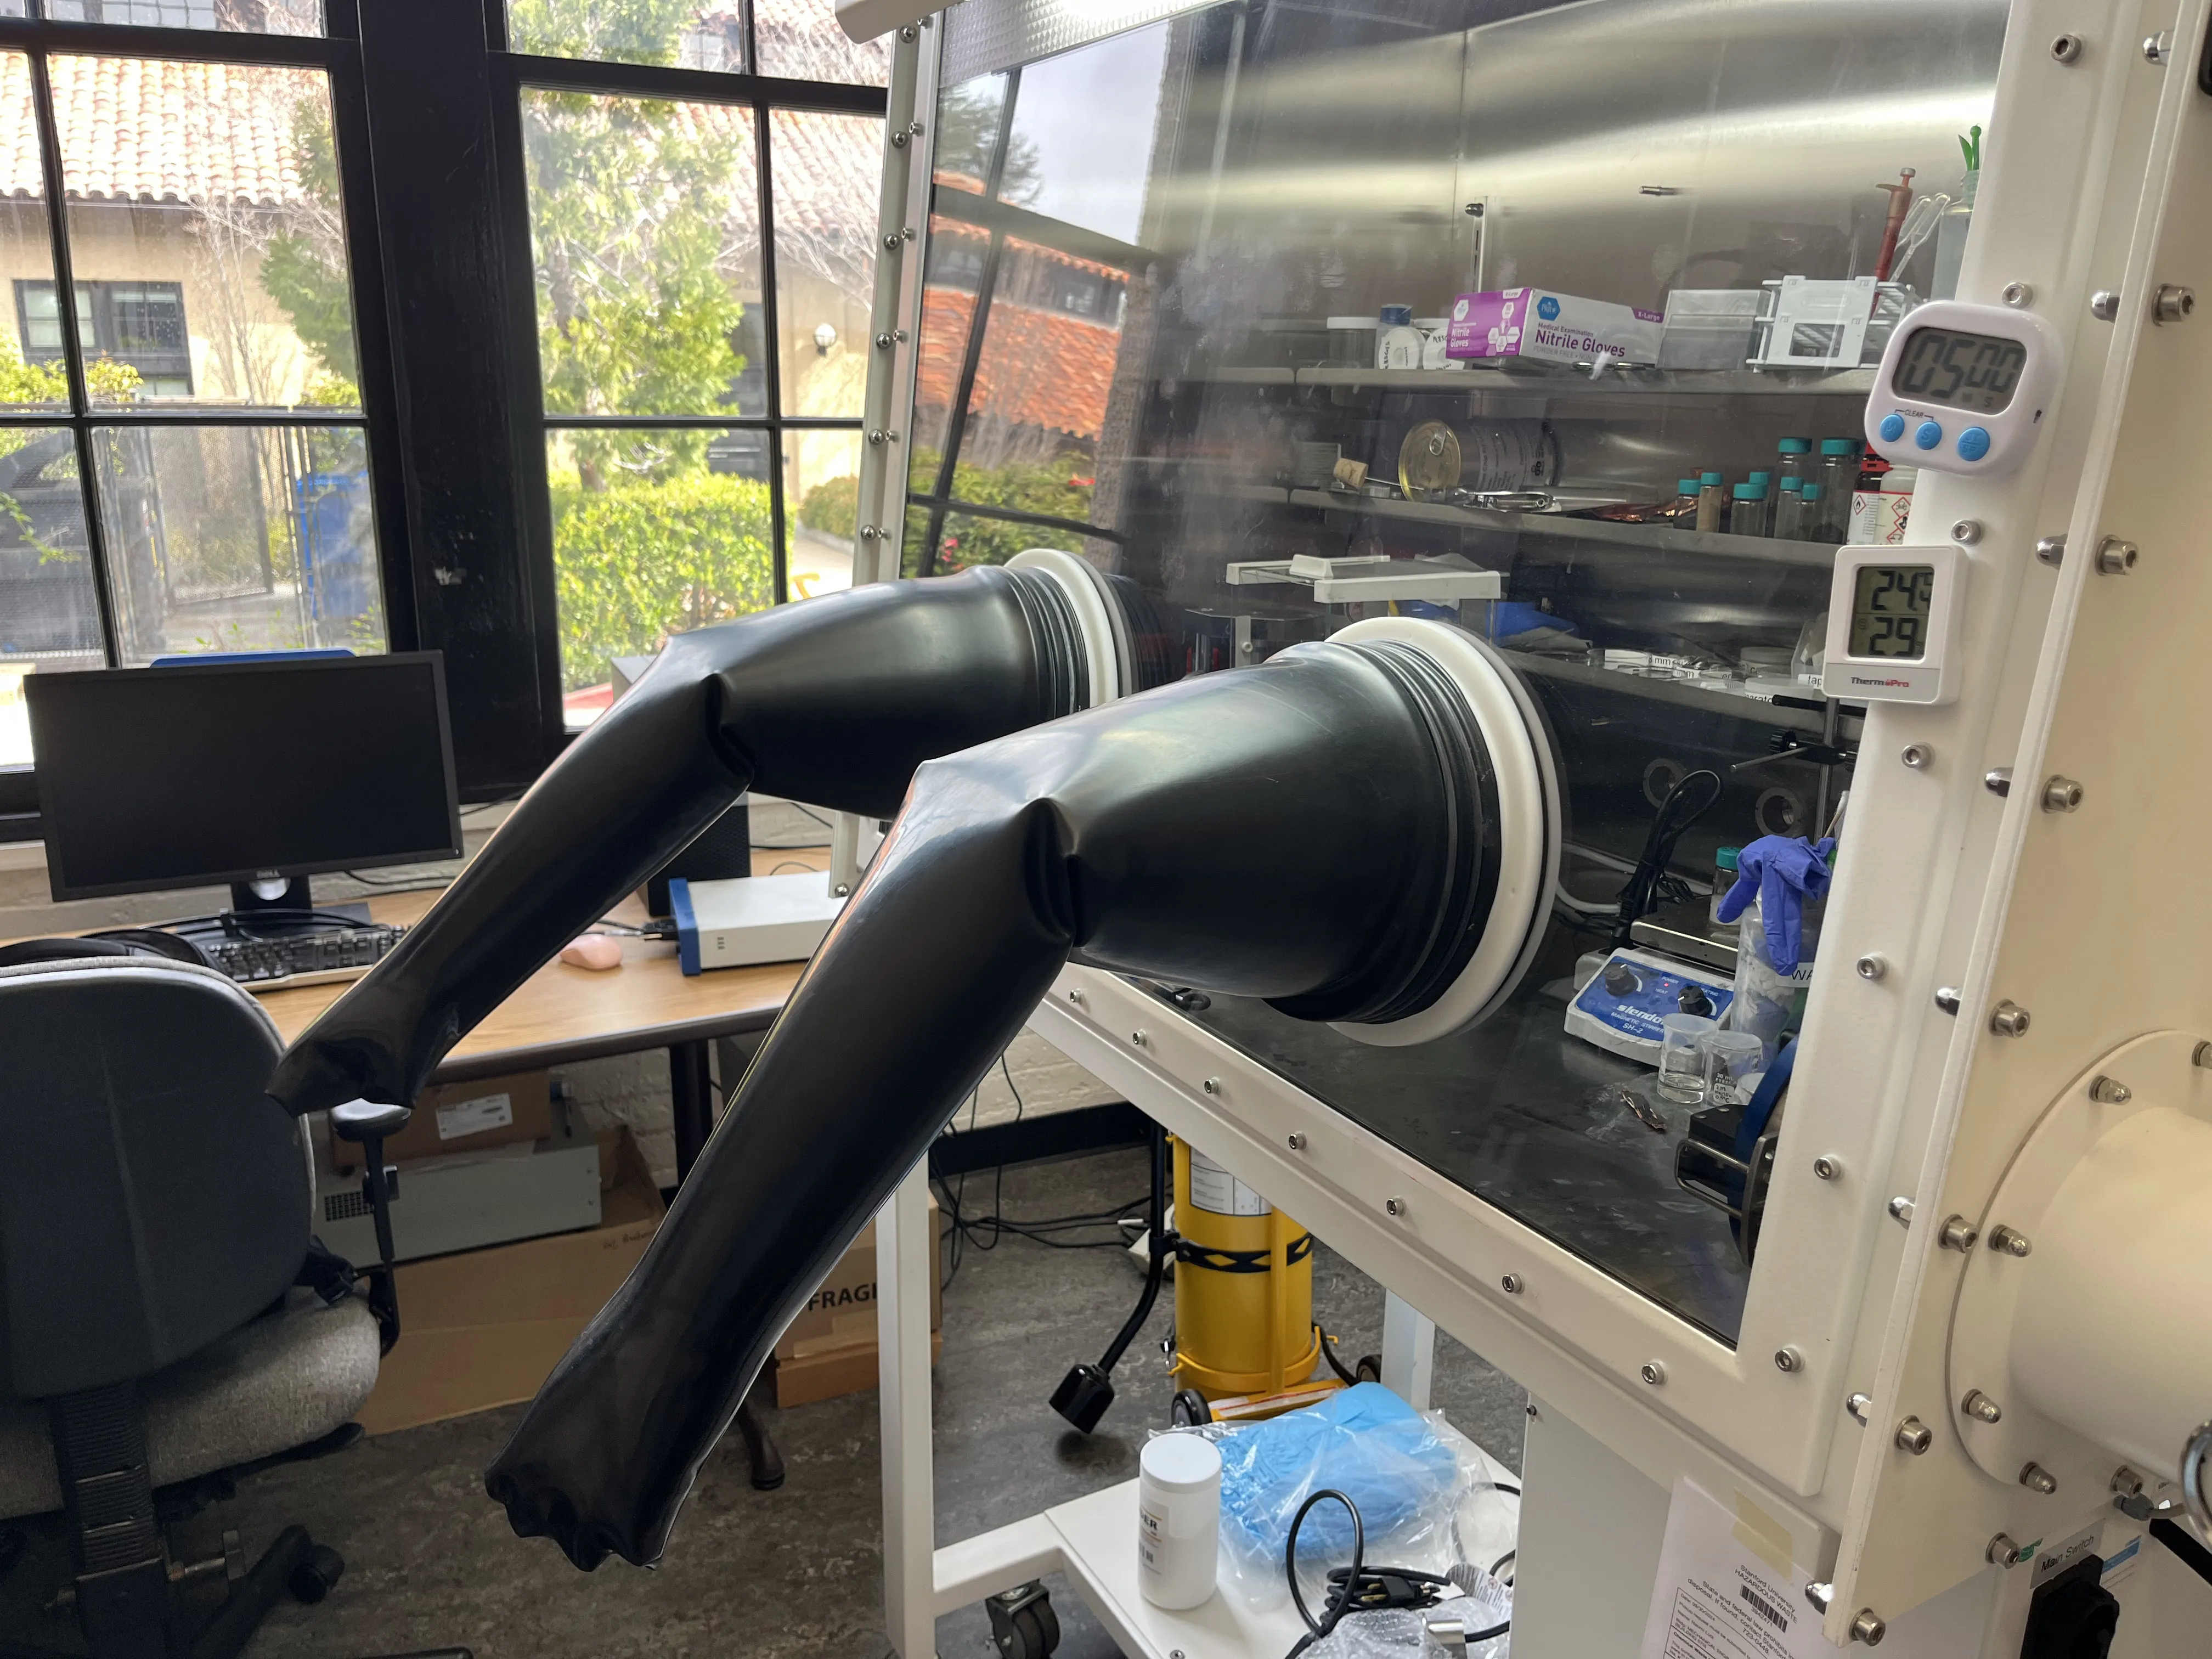
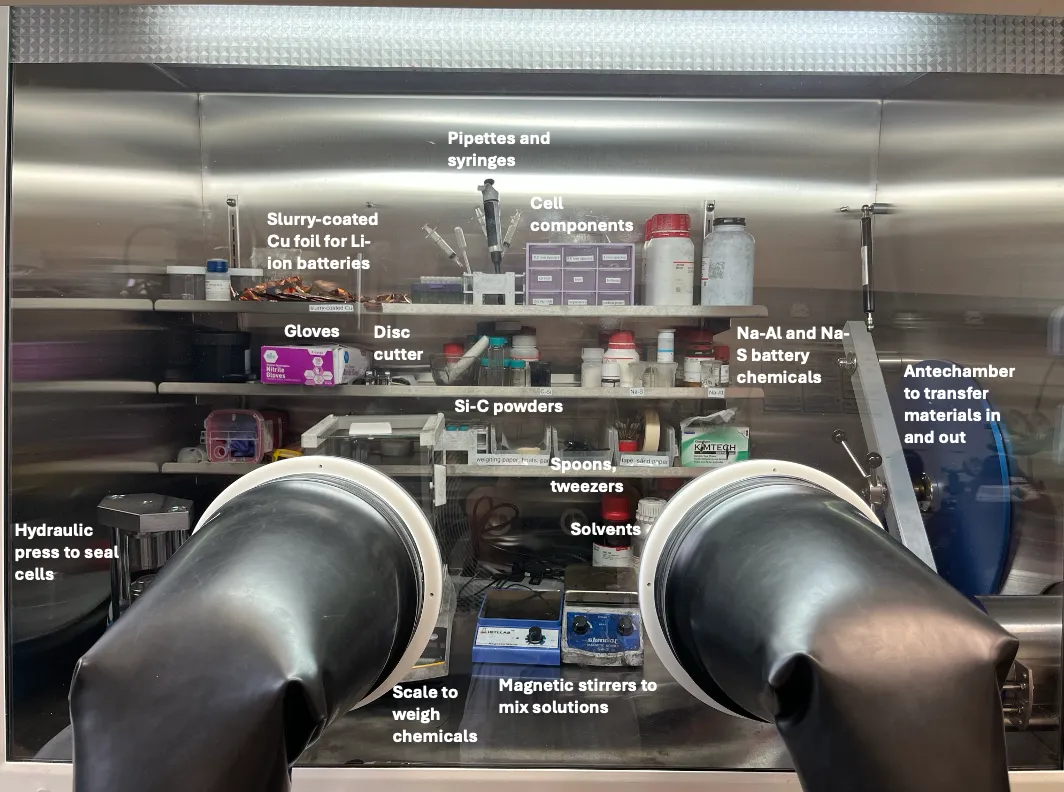
The chemicals we use can react dangerously with air and water, so we create the cell in an argon-filled glovebox, as argon is a noble gas and thus chemically inert, due to its full outer valence electron shell. Within the glovebox, we prepare the electrodes and electrolyte, stack the components inside the casing (the pot pie crust), and seal the cell. Each component is cut into discs to fit inside the coin cell casing.
For the sodium-sulfur cells we make, the anode is a sodium chip, made by rolling out a sodium cube and punching a hole. Sodium is not stable in the electrolyte that we use so will react with the electrolyte to form a passivation layer called a solid electrolyte interface (SEI). If it is robust, the SEI helps prevent further reaction between the electrolyte and electrode. In some of my cells, I allow the SEI to form during initial charge-discharge cycles. Other times, when the SEI formed naturally is unstable, I soak the sodium chip in a special solution to pre-form an SEI layer prior to assembly. The separator is a store-bought polymer, and the electrolyte is made by dissolving a sodium-containing salt into a solvent. For the cathode in the sodium-sulfur batteries, I make a liquid solution with different powders and solvents and absorb it onto carbon paper. The carbon paper serves as a matrix or container for this liquid component, making it easy to stack in our cell without leaking much liquid out.


When it is time for assembly, I put the negative casing facing up and stack a spring and spacers in it. I then place the sodium chip (sometimes passivated), drops of electrolyte, the separator, and then the carbon paper, on which we place catholyte drops. Finally, I cover the top with the positive casing and press down. During the assembly process, I use tweezers and a vacuum pen and take care to align the components well. I then seal the cell using a hydraulic press, typically to a pressure around 10-12 MPa. Now that the chemicals are sheltered inside of the cell, the cell can be taken out into normal air to be tested!
There is a lot of room for error in the manufacturing process. If I make two cells consecutively following the same steps, sometimes one cell will work great while one will store little energy and have a very short lifetime. There are myriad reasons for this, one of them being the limited dexterity offered by wearing three pairs of gloves: I wear nitrile gloves, then the big glovebox gloves, and then nitrile gloves over the big gloves to limit contamination. Industry is often better suited to produce reproducible results due to automated processes in the assembly line. Below are some of the things I learned during the process of making my first several dozen coin cells. I have since made hundreds more.

And here are some additional notes and tips after returning to this post a year later (in September, 2025) with all my new battery-making experience.
Generally, the process of making these cells is enjoyable. I mix chemicals, stack components, and use some cool tools. It can get a little hot and tiring using the glovebox, but working in the glovebox also means that I don’t have to worry as much about contact with the chemicals. It has been rewarding to start battery experimental work in my lab and learn how to make functioning batteries, fine tuning the process along the way! Now that I know the process and get to play around with the chemistry more, it is much more fun too. Hopefully this article gives you an idea of how I make coin cells in my lab, likely with more details than you ever really cared to know (sorry). After making cells, I then test them as described in the next post.